
Cherry Pie

I have a confession... I only made this
pie to test the decorative top crust. I don't
like cooked fruit, I love to eat fresh fruit.
Except, in buckles, crumbles, cobblers, grunts
or, as I have learned from my friends in The
Social Table, sonkers (that was a new one to me).
Oh yeah, combine cooked fruits with some butter,
oats and brown sugar and I love it!

Back when I was known in my hometown as
The Girl Who Liked Old Stuff, I would scour
garage sales, rummage sales, church jumble
sales, often competing with my friend Melissa
to discover great finds. This was one of those
finds, in a nondescript little tin were these
adorable cutters. I used a few of these to make
the pattern in the top crust.

Ingredients:
2 pie crusts
1 beaten egg white
2 cans cherry pie filling
(I used one of dark cherries and
one of no sugar cherries)
Sugar

Preheat oven to 425º F.
Press one of the pie crusts in a 9'' glass
pie plate. Brush bottom and sides with
egg white.

Combine the 2 cherry fillings if using
different types.

Fill the bottom crust with the 2 cans
of filling.

Cut the top crust with small decorative cutters
in the center of the crust. Center cut crust over
pie plate and carefully place over cherries. Fold
bottom crust over top and flute the edges with
your fingers. I used my finger to add egg white
around the openings in the crust, you can't use
the brush or the cherry syrup will get on the crust.
You can use the brush to coat the edges with egg
white, sprinkle lightly with sugar.
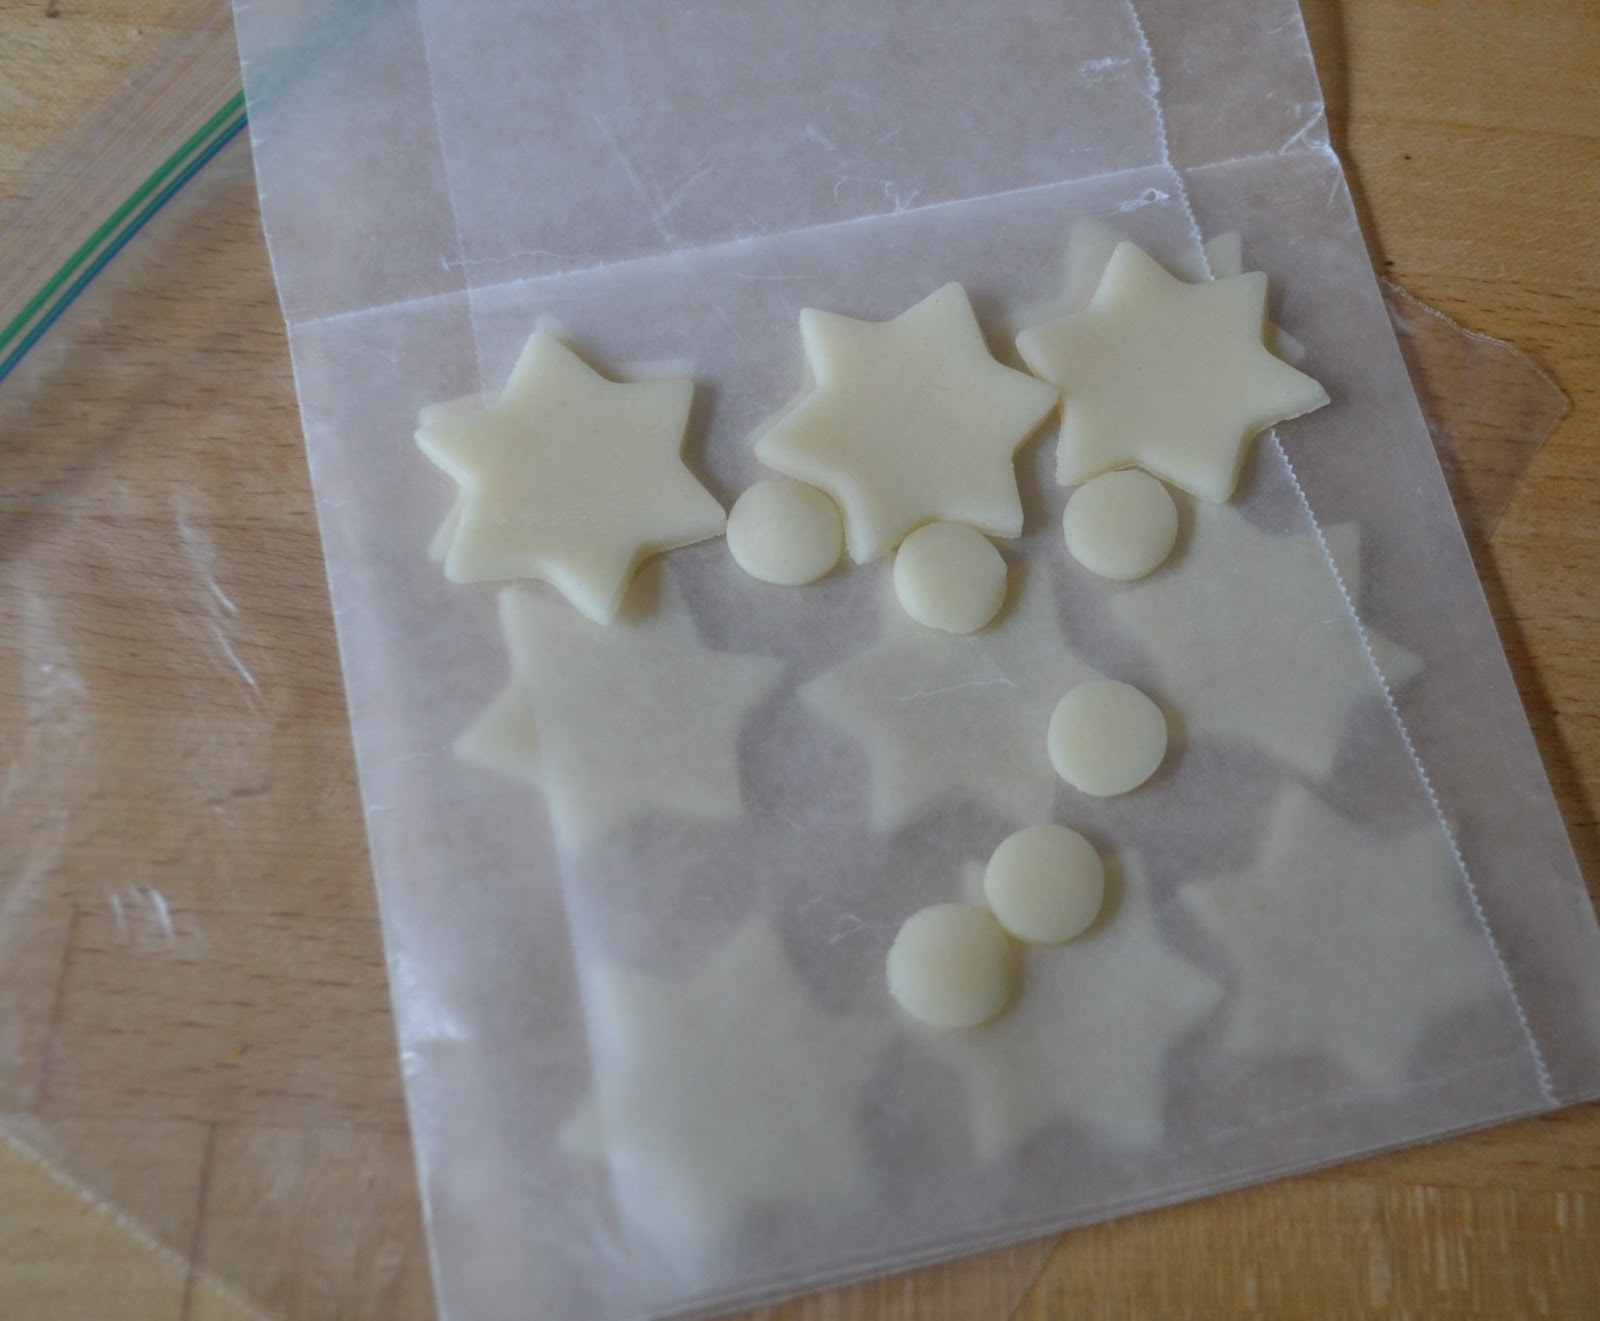
Package the small pieces that you cut out and
place in the freezer, you can use them for another
pie.

Bake for 40 to 45 minutes or until crust
is golden brown. I added a crust shield
after 20 minutes so the crust would not
burn.
As you can see the crust does not look as
great as it does in a magazine... Some of
the filling bubbled up through the holes in
the top crust. Let's hope it tastes good!
Enjoy!
No comments:
Post a Comment
Note: Only a member of this blog may post a comment.