Hello!

Welcome to American Homestead. I'm happy you have found my blog. Make yourself comfy and see what's been happening around here. I write about the things that interest me ~ creativity, travel, food, nature and a happy life. I'd love to read your comments.
Showing posts with label pincushions. Show all posts

Sunday, August 14, 2016

American Homestead Pincushion/Ornament Class


This post gives information on my Ornament/Pincushion
Class that I teach to guilds, stitching groups and retreats.


There are many ways to use the projects that you create.
Here are the various ways you can use the ornaments.


You could also embroider a name and date on the back
to make it a special keepsake ornament.  I know people
who make them for their kids or grandkids so when they
grow up and have their own homes, they have a collection
of ornaments from someone they love.


You can also add a little pocket to the back to hold
a gift certificate.


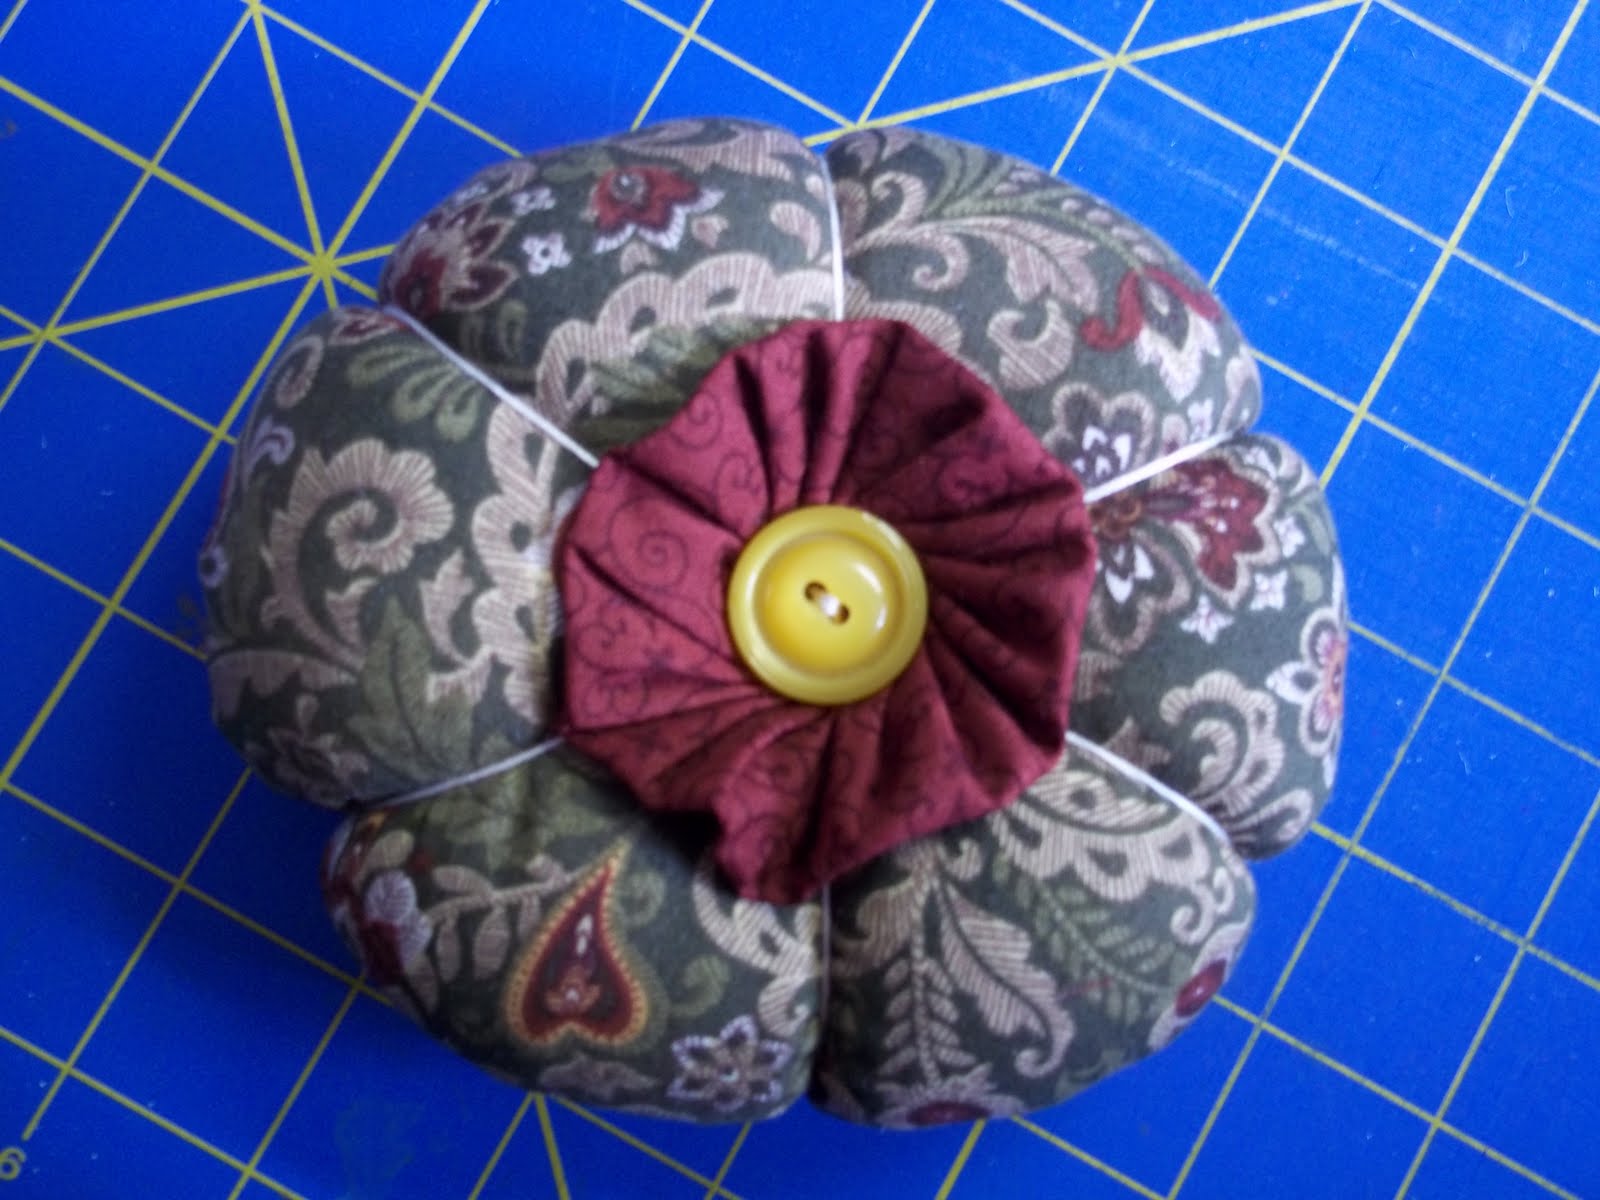
If you decide to make a pincushion you can place them
on a metal candlestand which looks lovely.


You can also frame them, they look great grouped 
in three or four on the wall.


You can also put them on dowel sticks and
add them to a floral arrangement.


You have two choices to make:
1. What pattern do I want to make?  There are 13 to
choose from.  They are shown below.
2. What colorway would you like to work in?  There is 
a brighter group of fabrics called the European Folk
Art Collection and a deeper group of fabrics called the
Pennyrug Collection.  Here they are:


Patterns created in The European Folk Art Collection


Patterns created in The Pennyrug Collection


This is what you need to bring to class: (it's so 
simple, you can bring it in a little basket!)

Scissors: sharp scissors to cut the wool felt and thread
Small pincushion with a few pins
Needles: appropriate to your choice of thread or whatever
feels good for you.
For ornament: 2 - 6'' x 6'' squares of cotton batting (scraps
from your quit projects are great)
For pincushion: a sandwich size ziploc of fiberfill
Floss/Thread:  There are as many opinions on what is the
best thread as there are brands of thread so I let my students
choose their favorite.  I generally use DMC embroidery floss 
and the correct color numbers are shown below.  If you prefer 
another thread or floss then just search for a comparison chart
for the brand you choose.
For European Folk Art Colorway:  Ecru - 806 - 3347 - 742 - 816
For Pennyrug Colorway: 677 - 920 - 826 - 816 - 732 - 742 - 310


Now choose one of the 13 patterns.  The photos show a
European Folk Art colorway example on the left and a 
Pennyrug colorway example on the right.


Here is a video about the class:


I hope to see you sometime very soon!!  ~ Ellen


Saturday, May 14, 2011

Pincushion How To

A Pincushion Tutorial


You will need for 1 pincushion:

2 - 6" diameters circles of fabric
1 - 5" diameters circle of fabric
48" of 6 strand embroidery thread
1 1/2" diameter circle of felt
fiberfill
button


Making the Yo-yo:
Cut a 5" diameter circle of
fabric for the yo-yo.


Using a doubled knotted sewing thread
make a few small stitches in the same
place to lock the thread so the knot will
not pull through when you gather the
yo-yo.  Now sew 1/8" from the edge of
the fabric using a 3/8" running stitch.
When making yo-yos remember if you
make large running stitches the hole will
be small, but if you use small running
stitches the hole will be large.


Pull thread to form the yo-yo.  Once
you can't gather anymore, take a few
small locking stitches and knot securely.
Flatten out and use your fingers to
make the yo-yo gathers look even.


Making the pincushion:
Cut 2 - 6" diameter circles of
 fabric for the body of the pincushion.


With right sides together, machine
stitch 1/4" away from edge, locking
stitches at the beginning and end.


Grab each of the circles and pull
apart, then make a 1" slit in
the center of one circle.


Turn right side out through the slit
and press.  If your edges are not
flat, stick a chopstick in the slit
and run it around the sewn seam,
press again.


Stuff with fiberfill very tightly
and hand stitch the slit closed.


Thread a large needle with embroidery
floss and make a large knot in one
end.  Make a few small stitches in
center of back, then bring needle
from back to front in the center
of the pincushion. 


Wrap floss around circle and
bring needle up from the bottom
again to the top, pull to make an
indent in the side.  Repeat to 
opposite side.


Keep repeating this process
until your pincushion looks
like it has 6 pie wedges.
Then bring the needle up and
down through the center a few
times and then knot in the back
but do not cut the floss.


Bring needle up to top again
and place yo-yo and button
as shown.  Take several stiches
through button, yo-yo and pincushion
to secure, then make a secure
knot in back.


Place felt circle over slit in
center of back and whip
stitch in place.


Tuesday, March 29, 2011

Me Time ~ March 29

Pincushion Collection


Today at Me Time we
are working on some
top secret projects so
photos aren't available, yet.
Instead I'll show you some
of the pincushions that
are around the shop.


I made that one!


As I was moving the
pincushions around to
photograph them I got
yelled at for not paying
attention to the sign!
Oops.
If you'd like to see the
many collections, including
button, machines &
notions, stop by Dawn's
shop.  The Quilt Shoppe
in Anderson, Indiana.